Internal Chat Working
This is the most important part for internal communication, coordination, and full visibility across the organization.
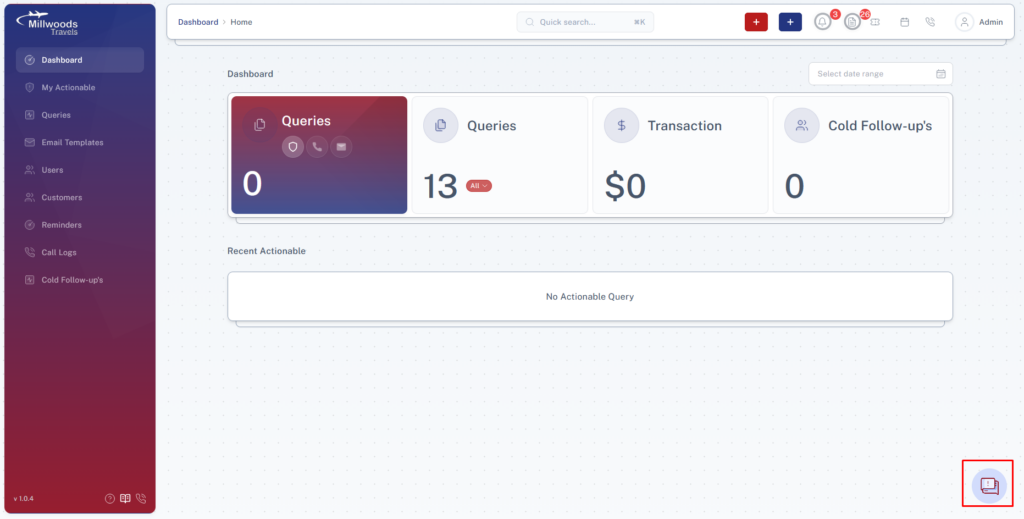
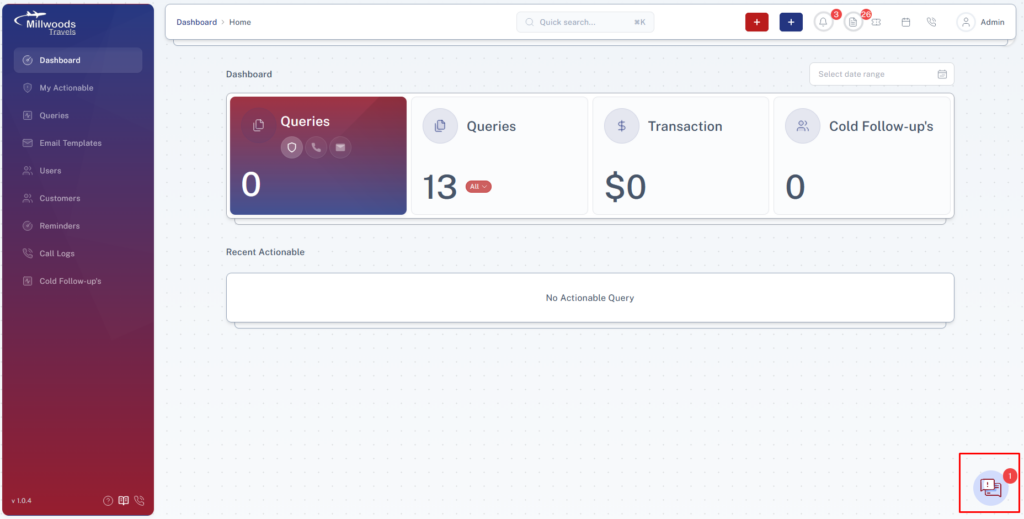
Step 1: Access Chat Module
Navigate to the Internal Chat module from the button provided at the bottom right.
This opens the chat interface with user list and conversations.
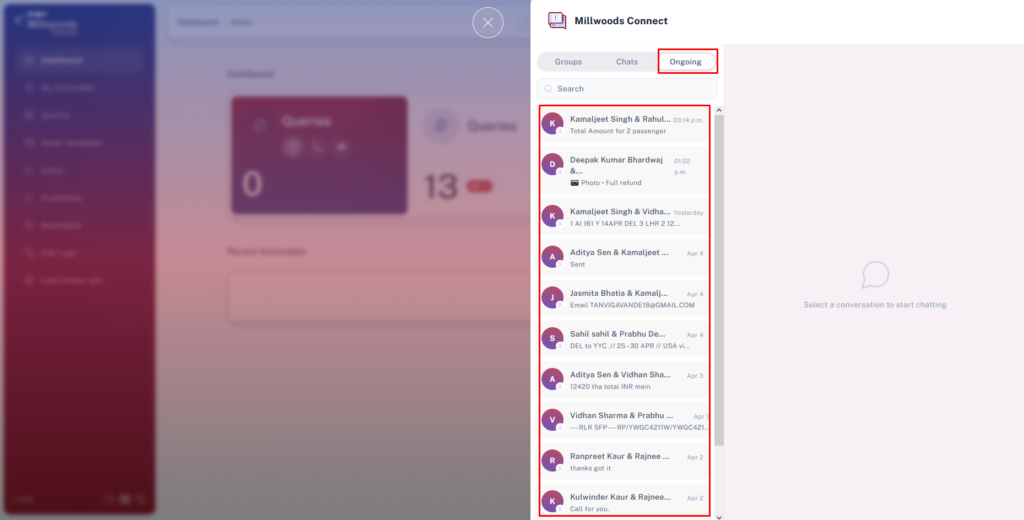
Step 2: View All Conversations
Admins can view all ongoing chats across the system, including:
- Agent-to-Agent chats
- Manager-to-Agent chats
- Group conversations
Select any conversation
→ Opens chat window with full message history
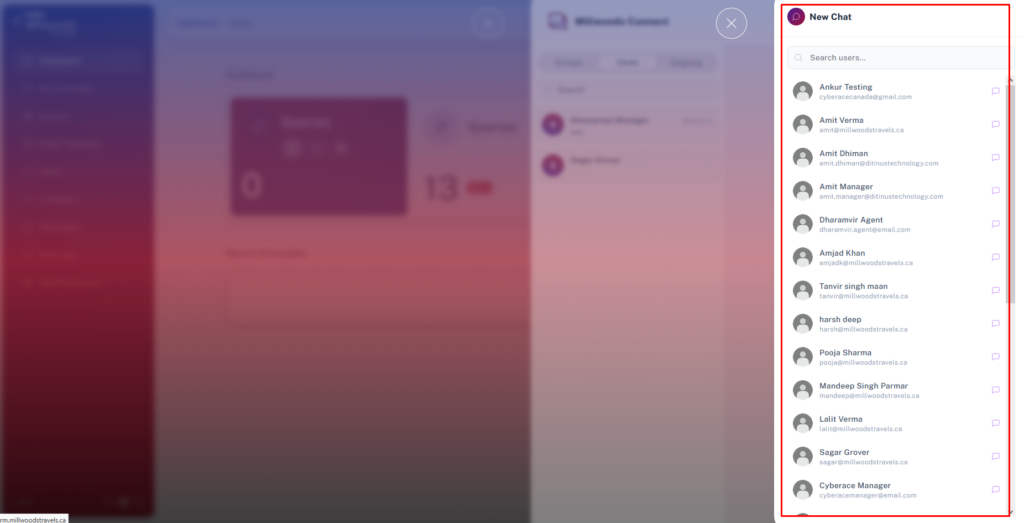
Step 3: Start New Chat
Click on New Chat / Select User.
Choose:
- Individual User (Agent/Manager)
- Multiple Users (Group Chat)
Start conversation
Step 4: Send Messages
Type message in chat input box
→ Press Enter / Send
Admins can:
- Send text messages
- Share important updates
- Provide instructions across teams
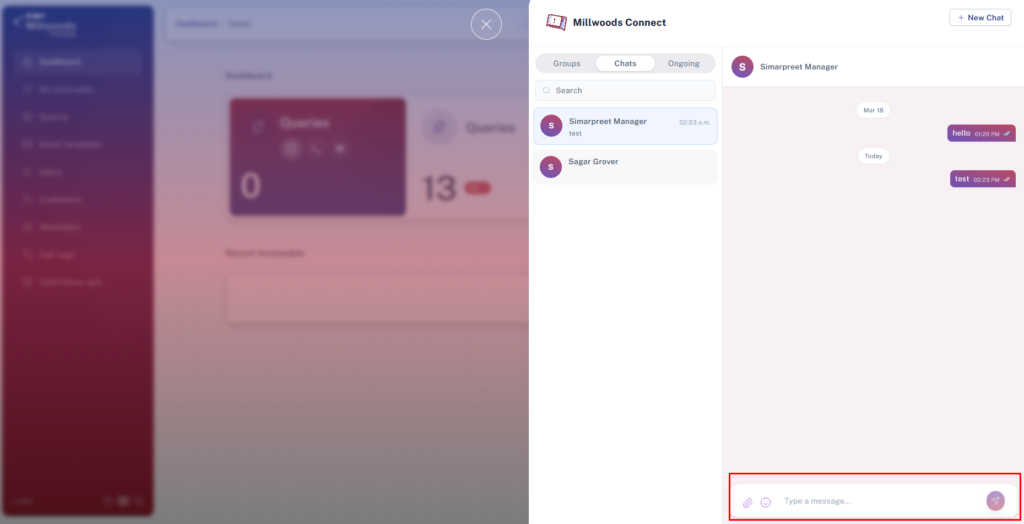
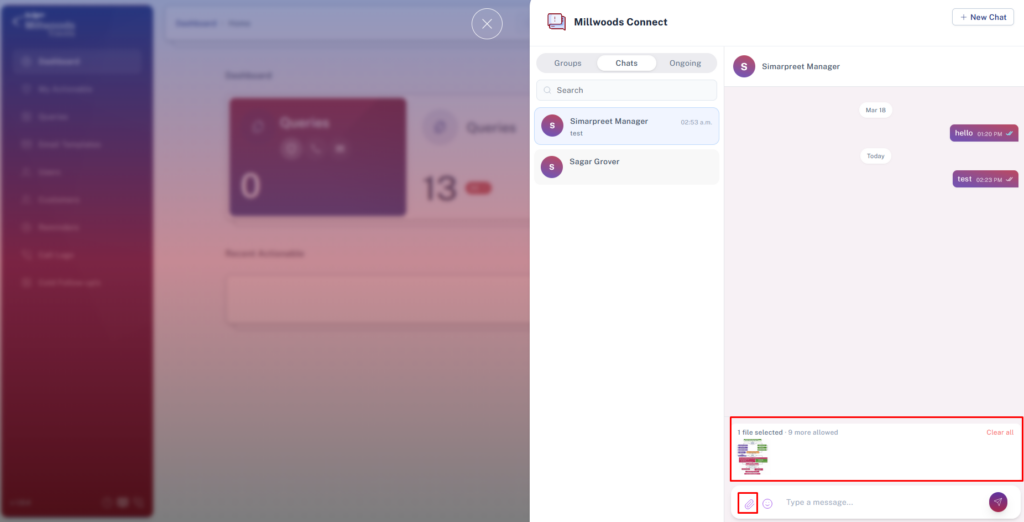
Step 5: Attach Files & Documents
Click on Attachment icon
Upload:
- Documents
- Images
- Tickets or related files
Step 6: Notifications & Alerts
Receive notifications for:
- New messages
- Mentions or escalations
Click notification
→ Opens relevant chat instantly
Step 7: Admin Control & Visibility
Admins have:
- Full visibility of all chats
- Ability to join any conversation
- Authority to guide or correct discussions
- Control to ensure compliance and clarity
Daily Usage Guide
- Monitor all critical conversations regularly
- Ensure no query-related communication is missed
- Respond quickly to escalations
- Maintain smooth coordination across teams
Best Practices
- Maintain clear and professional communication
- Intervene only when necessary to avoid clutter
- Use chat for quick decisions and escalations
- Ensure all important instructions are clearly communicated
- Keep conversations relevant and actionable